
That New Welder Smell: Why Your First Beads Might Disappoint
You’ve done the research and unboxed a powerful, professional-grade machine. You expect clean, strong welds from day one. Instead, you […]
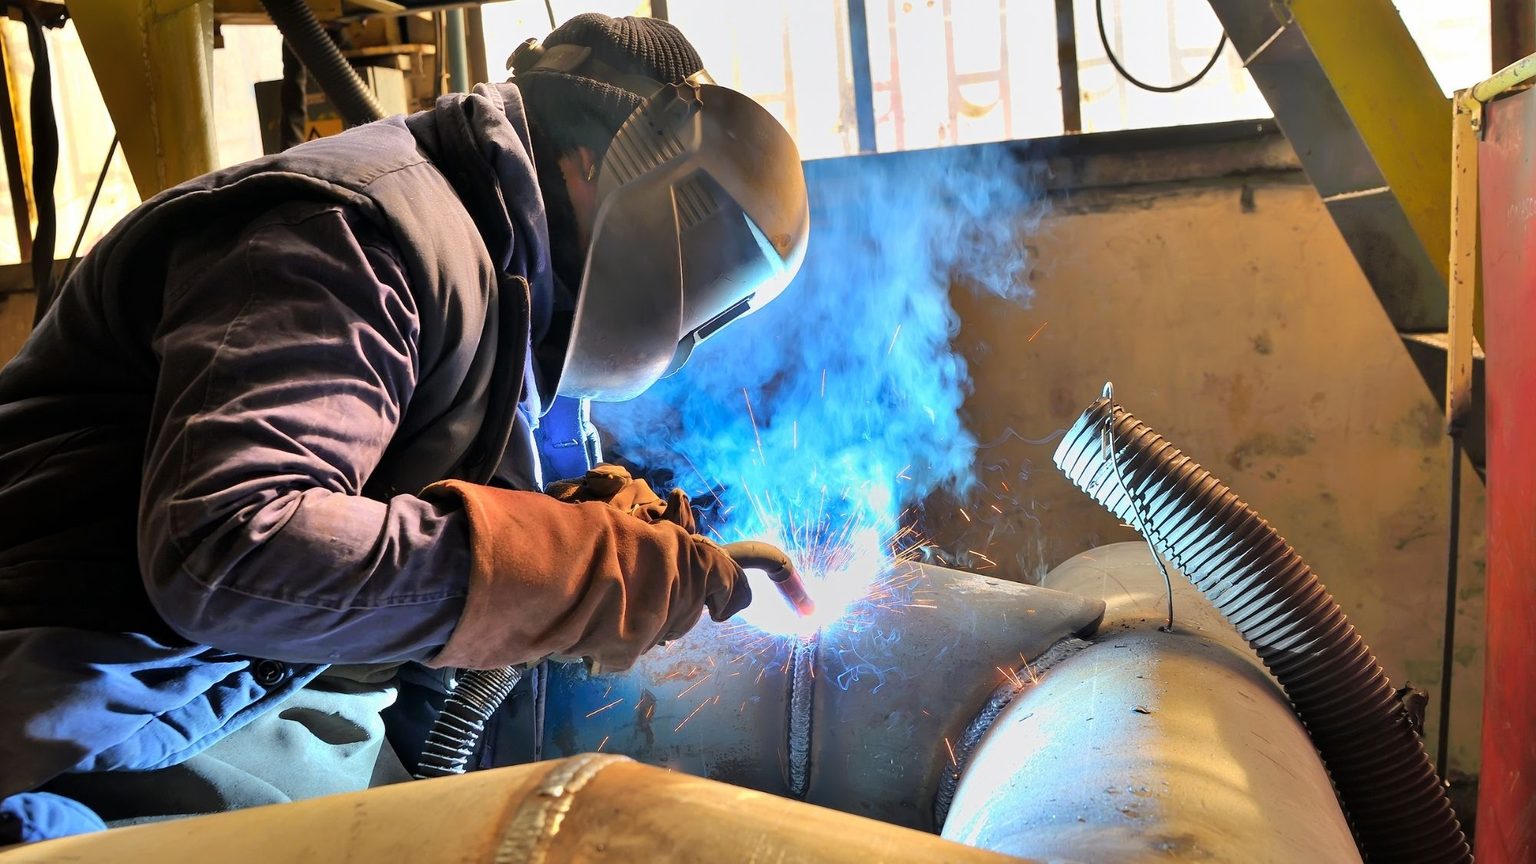
You’ve done the research and unboxed a powerful, professional-grade machine. You expect clean, strong welds from day one. Instead, you get excessive spatter, a sputtering arc, and beads that look porous and weak. It’s a frustrating moment that makes many new owners question their purchase or their skill. The problem, however, is rarely a defect in the equipment.
More often, poor results come from small but critical setup mistakes that are easy to overlook. Even a top-tier machine like the Miller 252 MIG welder is sensitive to details like gas flow, wire tension, and ground connection. Getting these wrong can waste expensive shielding gas, consume excess wire, and lead to welds that must be ground out and redone. The good news is that these issues are almost always correctable with a few adjustments.
Quick answer: Your new MIG welder is likely underperforming due to common setup errors, not a fault with the machine. The most frequent culprits are incorrect gas flow rates causing porosity, improper drive roll tension leading to erratic wire feeding, and a poor ground connection creating an unstable arc.
What’s inside
· Is Your Gas Flow Rate Causing Porosity?
· Why Is Drive Roll Tension So Misunderstood?
· Are You Using the Right Consumables for the Job?
· How Does Ground Clamp Placement Affect Your Arc?
· When Should You Switch to a Spool Gun?
· Troubleshooting Common Weld Defects: A Quick Guide
Why Do Small Setup Errors Create Such Big Costs?
Small setup errors create large costs because they lead directly to weld defects that require expensive and time-consuming rework, wasting materials, gas, and labor. A single bad weld might seem minor, but the downstream consequences can be significant for both hobbyists and professional fabrication shops. The time spent grinding out a porous bead, re-prepping the joint, and welding it again is time you cannot spend on the next part of the project.
The financial drain goes beyond lost labor. Every minute spent on rework consumes more wire, more electricity, and more shielding gas. For a small shop, these costs add up quickly. In larger industrial settings, the financial penalties are even more severe. Some analyses show that the cost of this rework can represent a substantial portion of a project’s total fabrication budget `[STATISTIC_1]`. This is money spent not on creating value, but on fixing preventable mistakes that originated before the first arc was ever struck.
Beyond the immediate costs, improper setup compromises the structural integrity of the final product. A weld with porosity, which is often caused by incorrect gas flow, contains tiny voids that weaken the joint. Similarly, poor fusion from an unstable arc can create a weak point hidden from view. While these might not matter on a simple shop cart, they can lead to catastrophic failure in a load-bearing application. A significant percentage of documented weld failures can be traced back to these fundamental setup issues rather than poor operator technique during the weld itself `[STATISTIC_2]`.
❝ A common mistake is cranking up the gas flow rate, thinking more is better. But too much flow creates turbulence as it exits the nozzle, which can pull in atmospheric contaminants just like having too little flow. For most solid-wire MIG welding indoors, start with a flow rate of 20 to 25 cubic feet per hour (CFH) and adjust based on the sound of the arc and the look of the finished bead.
These issues are compounded by the hidden wear on your equipment. For example, setting the drive roll tension too high can deform soft-cored wires, leading to feeding problems inside the gun liner. It also puts unnecessary strain on the wire feed motor. Setting it too low causes the wire to slip, resulting in an erratic, sputtering arc. Finding that perfect, firm-but-not-crushing tension is a small adjustment that prevents larger, more expensive equipment problems down the road.
Are You Using the Right Consumables for the Job?
Your results are only as good as the wire and shielding gas you feed into the machine. Choosing the right consumables involves matching your filler metal and gas to your base material, thickness, and desired weld characteristics. For steel, the most common mistake is not understanding the trade-offs between different shielding gases and wire types.
The two most common choices for shielding gas in MIG welding are 100% Carbon Dioxide (CO2) and a 75% Argon/25% CO2 blend, often called C25. While pure CO2 is less expensive, it produces a more turbulent arc, resulting in more spatter and a rougher bead appearance. The Argon in a C25 mix stabilizes the arc, leading to a smoother weld with far less spatter, which reduces cleanup time. According to the Occupational Safety and Health Administration (OSHA), proper gas selection is also a key part of managing exposure to welding fumes.
| Shielding Gas | Primary Benefit | Common Drawback | Best For |
| 100% CO2 | Low cost, deep penetration | More spatter, rougher bead | Thick materials, non-critical welds |
| 75/25 (C25) | Smooth arc, minimal spatter | Higher cost per cylinder | All-purpose, sheet metal, visible welds |
Similarly, not all solid steel wire is the same. The most common type is ER70S-6. The “-6” designation indicates it has a higher level of deoxidizers (silicon and manganese) compared to other wires like ER70S-3. This allows it to produce a sound weld even on steel with light mill scale or surface rust, making it a more forgiving, all-purpose choice for fabrication and repair. Using a wire with insufficient deoxidizers on a less-than-perfectly-clean surface can introduce porosity. The American Welding Society (AWS) maintains the classification standards for these filler metals.
❝ When you’re troubleshooting a feeding issue that seems to come and go, check your wire spool. Low-quality wire can have an inconsistent diameter or a flaky copper coating that clogs up your gun liner. Before blaming the machine’s drive rolls, run a few feet of wire through a gloved hand to feel for any rough spots or inconsistencies.
Ultimately, selecting the right consumables is about control. The C25 gas gives you control over the arc and final bead appearance. The ER70S-6 wire gives you more control over impurities in the base metal. Pairing the right wire with the right gas is a fundamental step that prevents a whole category of common weld defects before you even pull the trigger.
How Does Ground Clamp Placement Affect Your Arc?
It directly controls the stability and consistency of your welding arc by completing the electrical circuit. A poor ground connection introduces resistance, which can starve the arc of the power it needs, leading to sputtering, poor penetration, and excessive spatter. Many welders treat the ground clamp as an afterthought, but it is just as important as the gun itself.
Think of your welder as a pump pushing electricity through a loop. The current flows from the machine, down the gun cable, across the arc, through your workpiece, and back to the machine via the ground clamp and cable. If you attach that clamp to a rusty, painted, or oily surface, you are creating a bottleneck in the circuit. This resistance causes the voltage at the arc to fluctuate, making it difficult to maintain a smooth, steady bead. The machine has to work harder, and the arc becomes erratic and hard to control.
❝ A simple test for a bad ground is to feel the clamp itself after a long weld. If it’s hot to the touch, you have too much resistance at the connection point. That heat is wasted energy that should have gone into your weld pool. The ideal ground connection should remain cool.
The best practice is to attach the ground clamp as close to the area being welded as is practical. This shortens the path the electricity must travel through the workpiece, reducing overall resistance. Clamping directly to the piece you are welding is always better than clamping to the welding table. While the table will conduct electricity, every connection point, including from the workpiece to the table, adds another potential point of resistance. For the cleanest possible connection, use a wire brush or grinder to clear a small spot down to bare, shiny metal where the clamp will sit. This ensures a solid, low-resistance path for the current to follow, giving you the stable arc you need for high-quality welds.
Frequently Asked Questions
What are the best starting settings to use? Your machine’s inside panel has a detailed chart with recommended voltage and wire feed speed settings for different material thicknesses and wire diameters. Treat this chart as your starting point, not the final word. A perfect setting also depends on your travel speed and joint type, so listen to the arc. A smooth, sizzling sound like frying bacon indicates a well-balanced setting, while a harsh, popping sound often means your voltage is too high for your wire speed.
Why does my wire get tangled at the drive rolls? This issue, often called “birdnesting,” usually happens when the wire stops feeding at the gun but the drive motor keeps pushing. The most common cause is a blockage further down the line, typically from a worn contact tip that is too small or a clogged gun liner. Also, check that you are using the correct drive roll groove (smooth for solid wire, V-knurled for flux-cored) and that your tension is not too loose, which would cause slipping.
What does the “duty cycle” rating mean? Duty cycle tells you how long you can weld continuously within a 10-minute period before the machine needs to cool down. For example, a 60% duty cycle at 200 amps means you can weld for 6 minutes straight at that amperage. After that, the machine’s thermal overload protection may kick in for the remaining 4 minutes to prevent damage. Exceeding the duty cycle is one of the fastest ways to shorten the lifespan of your welder.
Can I run flux-cored wire in this machine? Yes, you can run self-shielded flux-cored wire, which is excellent for welding outdoors or on dirty material since it does not require a shielding gas bottle. To do this, you must switch the polarity of the machine. For solid wire with gas (GMAW), you use Direct Current Electrode Positive (DCEP). For self-shielded flux-cored wire (FCAW-S), you must switch to Direct Current Electrode Negative (DCEN).
How often should I change my contact tip? Change your contact tip as soon as the hole becomes visibly oval-shaped or oversized. A worn tip causes poor electrical contact with the wire, leading to an unstable, wandering arc and feeding issues. For production work, this might be daily; for a hobbyist, it could be every few months. Keeping a pack of correctly sized tips on hand is one of the most cost-effective ways to maintain weld quality.
The Bottom Line on a Perfect Setup
The quality of a weld is largely decided before you ever strike an arc. The common thread connecting spatter, porosity, and an erratic arc is not poor technique during the weld itself, but a failure to control the variables beforehand. Viewing your gas flow, consumable choice, and ground connection as separate, minor tasks is the core mistake. They are integral parts of a single system. A turbulent gas shield, an incorrect wire type, or a high-resistance ground each introduces instability that no amount of skill can fully overcome.
A methodical setup process is not about slowing down; it is about creating a predictable environment. When you take the time to clean your ground point, dial in your gas flow, and confirm your drive roll tension, you remove guesswork from the equation. This transforms welding from a frustrating exercise in troubleshooting into a focused application of skill. A stable, consistent arc becomes the expected starting point, not a lucky outcome.
Ultimately, your primary job during setup is to build the cleanest, most efficient electrical circuit possible. The ground clamp is not just an accessory; it is half of that circuit. The shielding gas is not just a breeze; it is a carefully managed atmosphere for the arc. By treating these setup steps with the same attention you give to your travel speed and gun angle, you ensure the machine can perform its job flawlessly, leaving you free to perform yours.
About the author
Welding Supplies from IOC is an online retailer of welding equipment, consumables, and safety gear. As a Miller Electric authorized online dealer, the company provides equipment from major brands for professional fabricators, small shops, and hobby welders. The platform offers a wide range of machines, from beginner MIG welders to advanced multi-process systems, along with the necessary filler metals and personal protective equipment for various welding applications. Their online catalog categorizes equipment by process and skill level to assist users in finding appropriate tools.



Keep Exploring Zingyzon.com
Read more Zingyzon SEO, digital marketing, online earning, business, and technology guides for Australia, USA, and global readers.