
Renovation Cleanup Planning: 7 Decisions That Keep Debris From Slowing the Project
Renovating a home can be exciting, but the process rarely stays as clean and organized as homeowners imagine. Once demolition […]
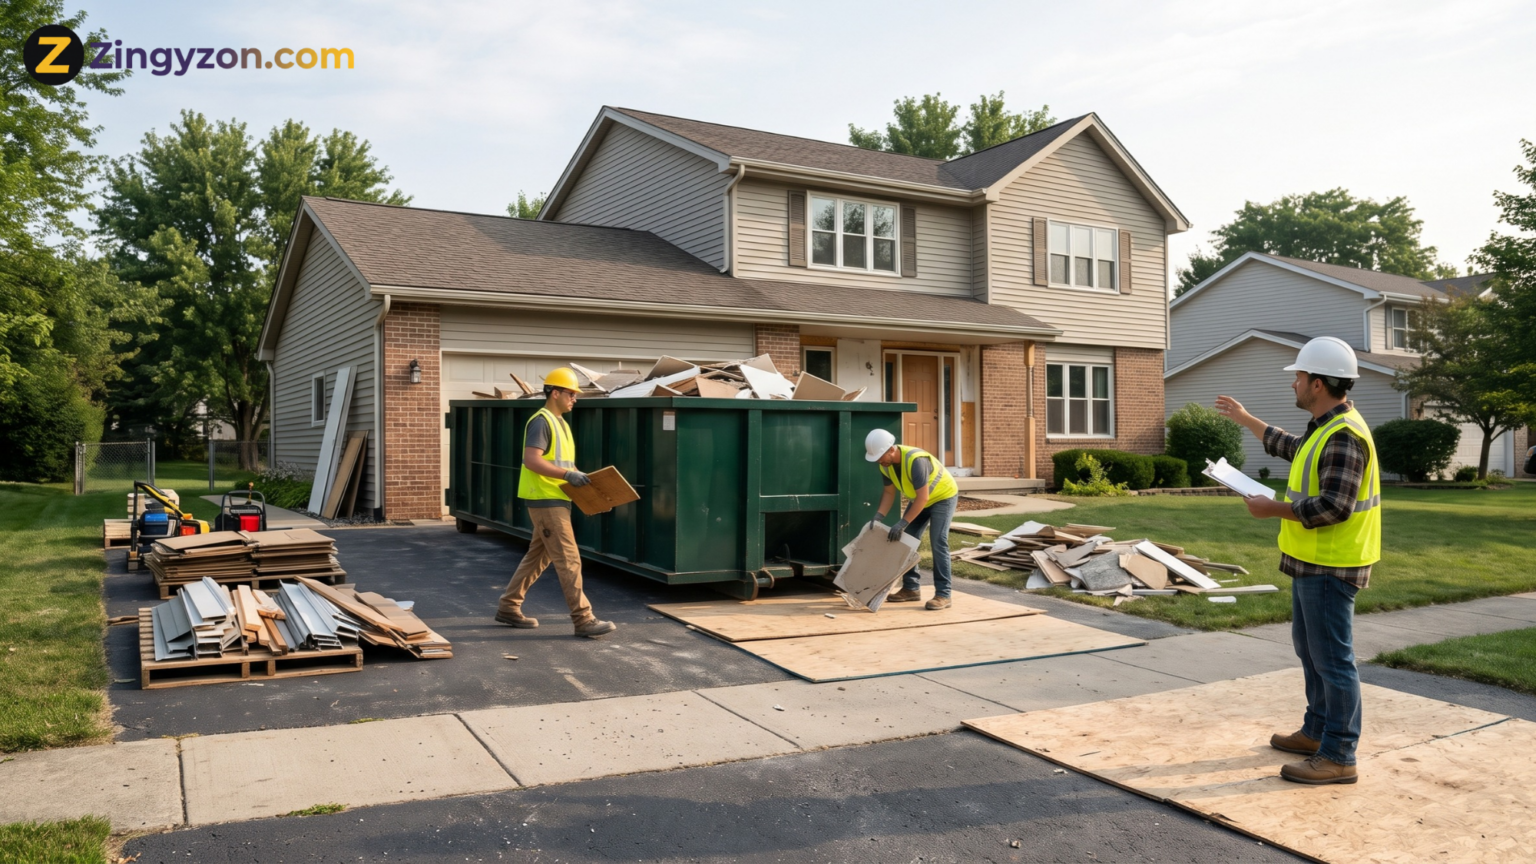
Renovating a home can be exciting, but the process rarely stays as clean and organized as homeowners imagine. Once demolition begins, old drywall, broken tiles, wood scraps, packaging materials, and unwanted fixtures can quickly take over the work area. Without a clear strategy for handling this waste, even a well-managed renovation can experience unnecessary delays.
Renovation cleanup planning is an essential part of keeping construction projects organized, safe, and efficient. It involves anticipating the amount of debris a project will generate, choosing appropriate disposal methods, coordinating waste removal, and ensuring that cleanup activities do not interfere with construction progress.
Many homeowners focus on selecting materials, comparing contractor estimates, and establishing renovation timelines. However, debris management often receives attention only when waste starts accumulating. By that point, the cleanup process may already be affecting productivity.
The solution is to approach renovation waste management as a planned part of the project rather than a final task.
Whether you are remodeling a kitchen, updating a bathroom, replacing flooring, or renovating an entire property, the following seven decisions can help prevent waste-related complications while keeping your project moving toward completion.
Why Renovation Cleanup Planning Matters
Construction debris is more than an inconvenience. It can interfere with worker movement, create safety hazards, restrict access to materials, and delay the next phase of renovation work.
For example, a flooring contractor may need to postpone installation if demolition debris still covers the subfloor. Similarly, electricians and plumbers can struggle to access work areas filled with discarded materials.
A practical renovation waste management strategy helps homeowners and contractors:
- Maintain safer, more accessible workspaces.
- Reduce unnecessary handling of discarded materials.
- Control waste transportation and disposal expenses.
- Coordinate demolition and construction schedules.
- Identify materials suitable for recycling or reuse.
- Prevent debris from blocking deliveries and equipment.
Effective cleanup is not about making a construction site spotless every hour. It is about keeping waste under control so each stage of renovation can proceed without unnecessary interruptions.
1. Decide How Much Debris the Renovation Will Generate
The first important decision involves estimating the volume and type of construction waste before demolition begins.
Different renovation projects produce different types of debris. A bathroom remodel may generate ceramic tiles, drywall, plumbing fixtures, and old cabinetry. A kitchen renovation may involve heavier materials such as countertops, flooring, appliances, and wooden cabinets.
Evaluate the Scope of Demolition
Start by reviewing which parts of the property will be removed or replaced.
Consider the number of rooms being renovated, the materials involved, and whether structural modifications are planned. A small cosmetic upgrade usually creates less waste than a project involving wall removal or extensive flooring replacement.
Account for Material Weight and Volume
Not all renovation debris behaves the same way.
Insulation and packaging materials may occupy considerable space without adding much weight. Concrete, bricks, roofing shingles, and ceramic tiles can reach disposal weight limits quickly.
This distinction matters when selecting waste containers or arranging hauling services.
Estimating debris requirements early can prevent overloaded containers, unexpected disposal charges, and interruptions caused by insufficient waste capacity.
2. Decide Which Materials Should Be Removed, Reused, or Recycled
Not every material removed during renovation belongs in a dumpster.
Some fixtures, cabinets, doors, flooring materials, and metal components may still have practical value. Separating reusable items before demolition can reduce disposal expenses and support more responsible waste management.
Identify Materials Worth Saving
Before removing existing fixtures, evaluate their condition.
Kitchen cabinets with sturdy frames may be suitable for refinishing or donation. Solid wooden doors, usable hardware, and undamaged lighting fixtures may also have second-life applications.
If materials are intended for reuse, remove them carefully rather than treating them as demolition waste.
Separate Waste by Material Type
Develop a simple sorting strategy for materials such as metal, untreated wood, cardboard, masonry, and general construction debris.
Local recycling facilities have different acceptance requirements, so confirm what they can process before creating separate collection areas.
Older properties may also contain concealed problems that complicate demolition. Readers researching renovation challenges on zingyzon.com can explore why hidden plumbing damage and aging building systems deserve attention before walls are opened.
Careful material evaluation prevents unnecessary waste while helping contractors avoid additional cleanup work later.
3. Decide What Dumpster Size and Disposal Method the Project Needs
Selecting the appropriate waste removal solution is one of the most important renovation cleanup planning decisions.
For smaller projects, scheduled junk removal or direct trips to an approved disposal facility may be sufficient. Larger renovations often benefit from a dedicated roll-off dumpster that remains available while demolition work continues.
Compare Dumpster Rental Options
A dumpster allows workers to place accepted construction debris in one designated location instead of creating multiple temporary waste piles.
Companies such as EcoBox Dumpsters provide residential and construction dumpster rental services that can help homeowners and contractors organize debris removal.
When evaluating a rental service, consider container dimensions, accepted materials, weight allowances, rental duration, delivery access, and pickup arrangements.
A larger dumpster is not automatically the best choice. Heavy debris can exceed its weight allowance even when considerable space remains inside.
Avoid Choosing Based on Price Alone
Rental costs should be evaluated alongside the services included.
Ask whether the quoted amount covers delivery, collection, disposal weight, and the full rental period. Also confirm potential charges for excess weight, prohibited items, or rental extensions.
A container that initially appears inexpensive may become costly if the project requires additional pickups or exceeds the agreed limits.
Choosing the correct disposal method from the beginning helps maintain workflow and reduces the risk of unexpected expenses.
4. Decide Where Waste Containers Will Be Placed
Dumpster placement can influence how efficiently workers move debris from demolition areas to the disposal container.
An inconvenient location may require repeated trips across the property, increasing labor time and creating unnecessary obstacles.
Choose an Accessible Location
Whenever possible, select a location close enough to the renovation area for practical debris transportation while keeping entrances, sidewalks, and emergency access routes unobstructed.
Driveways are common placement locations, but homeowners should confirm that the surface can support the loaded container and delivery equipment.
Protecting landscaping, underground utilities, and finished outdoor surfaces should also be part of the placement decision.
Confirm Delivery Access and Local Requirements
Before arranging delivery, check whether the truck can enter the property safely.
Overhead wires, narrow driveways, parked vehicles, low branches, and tight turning spaces may create difficulties.
It is equally important to verify whether the rental provider serves the property. Reviewing its dumpster rental service areas can help determine geographical coverage before scheduling a delivery.
Some municipalities require permits when waste containers occupy public streets, sidewalks, or other public rights-of-way. Requirements vary by location.
Confirming access and placement rules before demolition begins prevents last-minute changes that could delay waste removal.
5. Decide When Debris Should Be Removed During the Project
A common renovation mistake is postponing cleanup until construction is almost complete.
This approach may appear convenient, but debris can accumulate faster than expected, particularly during demolition-intensive stages.
Coordinate Cleanup With Construction Phases
Renovation schedules typically involve several stages, including demolition, structural work, electrical and plumbing installation, drywall installation, flooring, and finishing.
Each stage produces different waste volumes.
The demolition phase often generates the largest amount of bulky debris. Later stages may produce smaller quantities of packaging, scrap materials, and finishing waste.
Scheduling waste removal around these phases allows contractors to maintain cleaner workspaces without interrupting ongoing activities.
Create Regular Cleanup Checkpoints
Instead of waiting until containers become overloaded, establish regular opportunities to review waste accumulation.
For example, a contractor may assess the site at the end of each workday and arrange collection when the container approaches its permitted capacity.
Major construction milestones can also serve as cleanup checkpoints.
Removing demolition waste before new material deliveries arrive is especially useful because it reduces congestion and creates space for the next phase of work.
A coordinated cleanup schedule helps prevent construction debris from becoming an obstacle to project completion.
6. Decide Who Is Responsible for Cleanup and Site Safety
Cleanup responsibilities should be clearly established before renovation work starts.
Homeowners sometimes assume contractors will handle all debris removal, while contractors may expect separate waste management arrangements.
These misunderstandings can result in unexpected charges, unfinished cleanup tasks, and unnecessary scheduling conflicts.
Define Responsibilities in the Renovation Agreement
Discuss who will collect debris, maintain work areas, arrange dumpster delivery, and coordinate final waste removal.
If multiple contractors are involved, determine which team is responsible for cleaning shared workspaces.
Written agreements help ensure everyone understands their responsibilities.
Manage Dust and Hazardous Materials Properly
Renovation debris may contain sharp objects, exposed nails, broken glass, or dust that creates safety concerns.
Work areas should remain organized, with clear walking paths and appropriate waste containers.
Older buildings require additional caution. In the United States, homes built before 1978 may contain lead-based paint, and disturbing painted surfaces can create hazardous dust. Certain renovations require trained, certified contractors and lead-safe work practices.
Suspected asbestos-containing materials should also be assessed and handled by appropriately qualified professionals rather than mixed into ordinary construction waste.
Workers should use suitable protective equipment and follow applicable workplace safety requirements.
Preventing injuries and controlling hazardous materials are essential parts of responsible renovation cleanup planning.
7. Decide How the Final Cleanup Will Be Completed
The final cleanup phase deserves as much attention as the initial demolition process.
Even after contractors finish installing materials and completing repairs, renovation sites may contain fine dust, adhesive residue, packaging, small debris, and leftover construction supplies.
Without a final cleaning strategy, homeowners may face additional delays before they can comfortably use the renovated space.
Plan for Detailed Post-Renovation Cleaning
Final cleanup should include removing remaining debris, cleaning accessible surfaces, and checking areas where construction dust may have accumulated.
Depending on the project, this may involve cleaning cabinets, windowsills, floors, baseboards, fixtures, and ventilation openings.
Use cleaning methods and equipment appropriate for the materials involved. Where lead or other hazardous dust may be present, specialized cleaning procedures may be required.
Schedule a Final Site Inspection
Before considering the renovation complete, walk through the property with the contractor.
Check that unwanted materials have been removed, pathways are clear, and surfaces are ready for normal use.
Also confirm that rented dumpsters and temporary waste containers have been collected.
Inspect exterior areas for stray nails, broken pieces, and debris that may have accumulated during transportation.
A final walkthrough allows small cleanup issues to be resolved before they become frustrating problems after the renovation is finished.
Common Renovation Cleanup Mistakes to Avoid
Even with a detailed renovation schedule, a few waste management mistakes can create unnecessary difficulties.
One frequent issue is underestimating how quickly debris accumulates. Homeowners may rent a small container without considering heavy flooring materials, demolished cabinetry, or unexpected repairs.
Another mistake is mixing prohibited materials with ordinary construction waste. Paint, solvents, batteries, and certain electronics may require separate disposal arrangements.
Poor coordination can also affect progress. Scheduling a dumpster pickup before demolition is finished may leave the team without sufficient disposal capacity.
Finally, failing to protect completed work can create avoidable damage. Moving debris through newly painted rooms or across finished flooring may result in additional repairs.
These problems are easier to prevent when waste handling is considered during the earliest planning stages.
How to Build a Practical Renovation Cleanup Plan
A successful cleanup strategy does not need to be complicated.
Begin by reviewing the renovation scope with the contractor and identifying the materials likely to be removed. Estimate disposal volume, investigate recycling opportunities, and determine which waste removal services are appropriate.
Next, identify a safe collection location and confirm delivery access. Match the cleanup schedule to major construction milestones, particularly demolition and material installation.
Clarify who will be responsible for daily housekeeping, container monitoring, and final waste collection.
Finally, reserve enough time for detailed cleaning and inspection before the renovated space returns to normal use.
This approach turns renovation waste management into a predictable process rather than an unexpected problem.
Frequently Asked Questions
What is renovation cleanup planning?
Renovation cleanup planning involves organizing debris collection, waste disposal, recycling, and site cleaning activities before and during a remodeling project.
When should renovation debris removal begin?
Debris removal should be planned before demolition starts. Regular cleanup during each construction phase helps prevent waste from interfering with ongoing work.
What size dumpster is best for home renovation?
The appropriate dumpster size depends on project scope, debris volume, material weight, and local rental options. Consult the provider before selecting a container.
Can construction debris be recycled?
Yes. Certain materials, including metal, clean cardboard, untreated wood, and masonry, may be recyclable depending on local facilities and acceptance requirements.
How can homeowners reduce renovation cleanup costs?
Accurate debris estimates, material reuse, appropriate container selection, and coordinated pickup schedules can help reduce unnecessary disposal and transportation expenses.
Conclusion
Successful renovation cleanup planning helps homeowners and contractors maintain safer workspaces, control disposal expenses, and reduce unnecessary project delays. By estimating debris, choosing suitable waste containers, coordinating removal schedules, and defining cleanup responsibilities, renovation teams can work more efficiently.
A well-organized cleanup strategy keeps construction debris from interfering with progress and helps ensure the finished space is ready to enjoy.



Keep Exploring Zingyzon.com
Read more Zingyzon SEO, digital marketing, online earning, business, and technology guides for Australia, USA, and global readers.